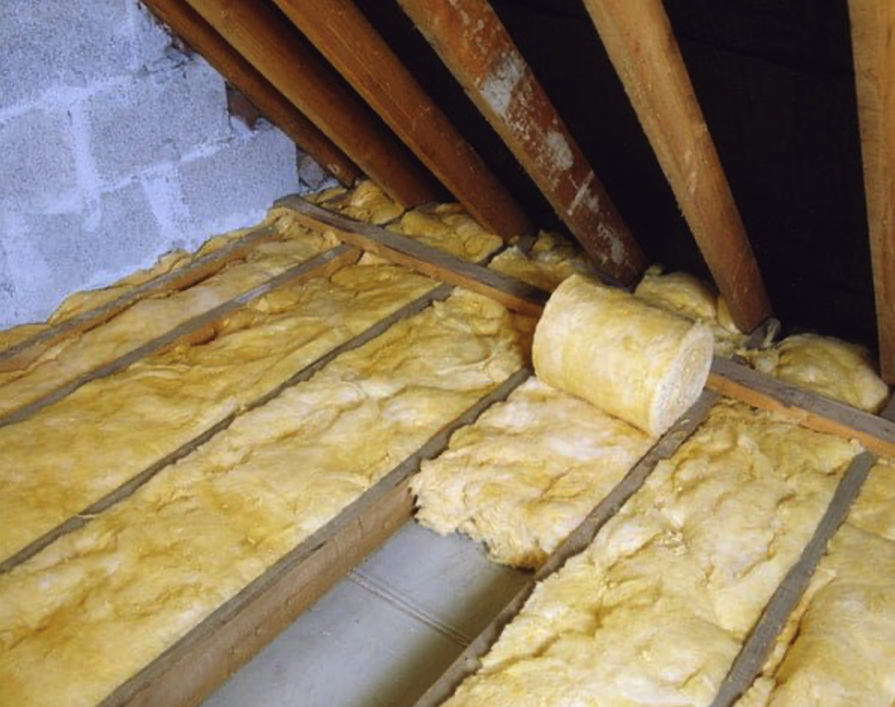
Installing Loft Insulation Rolls in the UK can be a cost-effective way to reduce your home's energy bills, improve the overall insulation of your home, and enhance your home's comfort.
Suppose you're planning to install loft insulation rolls in the UK. In that case, it's essential to understand the process and steps involved in the installation. In this step-by-step guide, we'll take you through the entire process of installing loft insulation rolls in the UK, so you can save money, reduce energy bills, and create a more comfortable home environment.
Step 1: Check the current insulation levels of your loft
Before installing loft insulation rolls, it's crucial to assess the current insulation levels of your loft. You can use a simple tape measure to check the insulation depth in your attic. If the insulation is less than 10-12cm, you likely need to add more insulation to achieve optimal insulation levels.
Step 2: Choose the correct type of insulation rolls
Loft insulation rolls come in various types, including fibreglass, mineral wool, and polyester. You should choose the type of insulation roll that suits your needs and budget. Fibreglass and mineral wool are the most common insulation rolls used in the UK. At the same time, polyester is more expensive but more durable and effective.
Step 3: Decide how much insulation you need
To determine how much insulation you need, measure the dimensions of your loft space and calculate the total area. Divide the whole area by the coverage rate of the chosen insulation rolls. This will give you an estimate of the number of insulation rolls you need.
Step 4: Prepare your loft space
Before installing the insulation rolls, ensure your loft is cleared of any obstacles and is free of dust and debris. Also, remove any existing insulation if necessary, and ensure your loft's surface is clean and dry.
Step 5: Install the loft insulation rolls
Begin installing the insulation rolls at the eaves of your loft and work your way towards the ridge. Make sure to overlap the insulation rolls by about 10-15cm to prevent cold air from infiltrating your home. Ensure the insulation rolls are level and even across the entire surface of your loft.
Step 6: Secure the insulation rolls
Use specialist fixing products to secure the insulation rolls to the joists in your loft. This will prevent the insulation rolls from slipping and moving, ensuring they provide optimal insulation to your home.
Step 7: Seal any gaps
After installing the insulation rolls, check for gaps or holes in the insulation and seal them using a gap filler or draft excluder. Doing this will prevent warm air from escaping through the cracks and ensure your home is adequately insulated.
Step 8: Monitor your energy bills
After installing loft insulation rolls, monitor your energy bills to see how much you've saved on your energy costs. You should see a reduction in your energy bills and a more comfortable home environment.
In conclusion, installing loft insulation rolls in the UK is a cost-effective way to reduce your home's energy bills and improve the overall insulation of your home. By following this step-by-step guide, you'll be able to install the insulation rolls with ease and enjoy the benefits of a well-insulated home. Whether you're a homeowner or a landlord, adding loft insulation is a wise investment that will pay off in the long run.


